
Vol. 1 · No. 37 · FreeSeptember 9

THE COUNTIO CHRONICLE

The World's Growing Library of Actionable Knowledge
Home·Guide·Home Ownership
Beginner7 min read

July 2026 · Volume 1 · Issue 29

Safe DIY Outdoor Projects for Beginners

A grounded introduction to outdoor DIY — choosing the right first project, understanding tools and safety, and building skills without injury or expensive mistakes.

Published July 18, 2026
DIYoutdoor projectsbeginnercarpentryraised bedssafety

There is a particular satisfaction in building something with your own hands that you then use for years. But outdoor DIY projects carry risks that indoor craft does not — power tools, uneven ground, weather exposure, heavy materials. Beginners often start with too much ambition, buy tools they do not need, and abandon projects halfway through when they prove harder than expected. This guide is for the person who wants to build something useful outdoors — a raised bed, a simple shed, a bird table — without ending up injured, frustrated, or out of pocket.

Safe DIY Outdoor Projects for Beginners

Choose the Right First Project

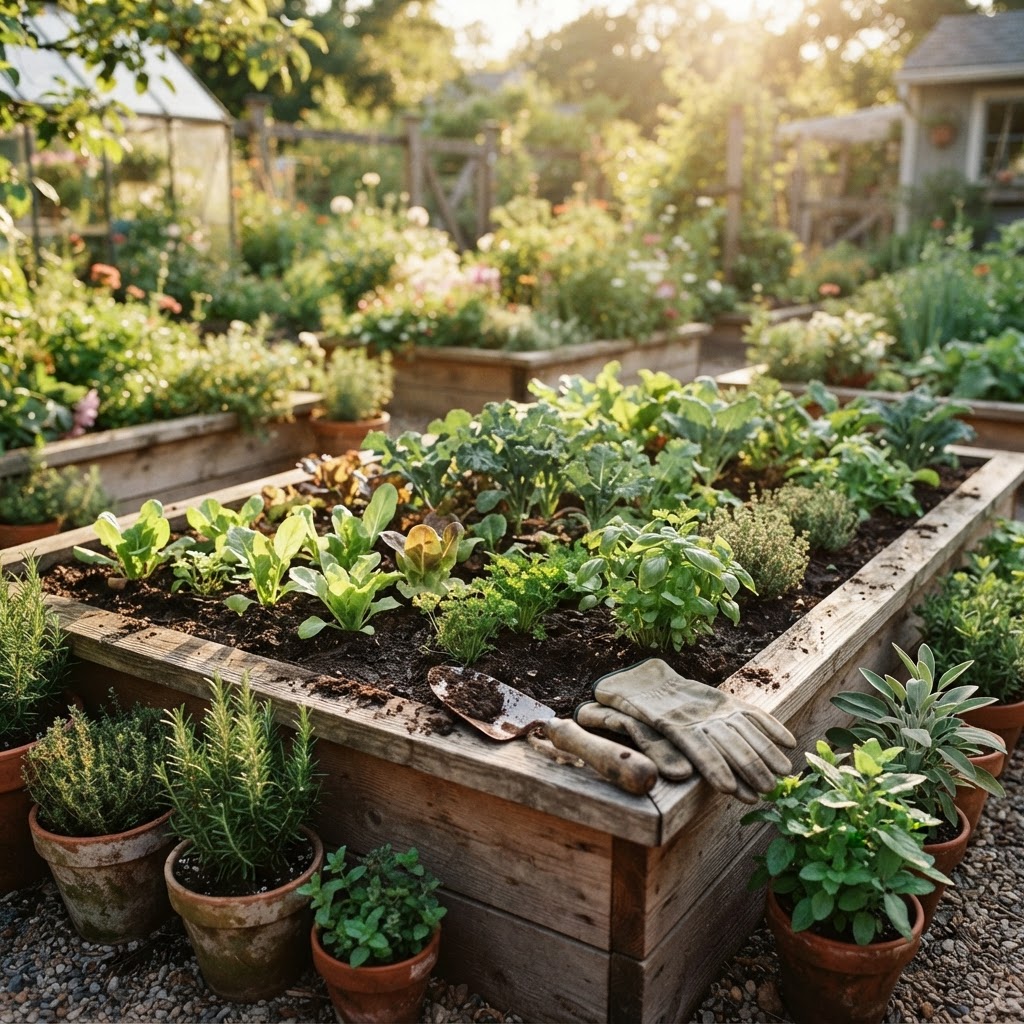
Your first outdoor project should be small, useful, and forgiving. Raised garden beds are the ideal starting point: they require basic carpentry, use standard timber, can be completed in an afternoon, and produce something you will genuinely use. A bird table, a compost bin, or a simple bench are also excellent choices. Avoid projects that involve structural loads, electrical work, plumbing, or significant excavation — these require expertise that comes with experience.

The test of a good beginner project is this: if it goes wrong, can you dismantle it and start again without significant loss? If the answer is yes, the project is appropriate. If failure means a collapsed shed or a ruined lawn, it is not yet your project.

The best first project is one you can finish in a weekend. The worst is one that becomes a six-month reminder of your own ambition.

Tools and Safety

Outdoor DIY demands respect for tools. Before starting any project, ensure you have the right tools for the job — not improvised substitutes. A circular saw, a drill, a level, a tape measure, safety glasses, and work gloves cover most beginner projects. Buy or borrow quality tools; cheap tools make work harder and more dangerous.

Safety is not optional. Wear eye protection whenever cutting, drilling, or hammering. Wear gloves when handling timber — splinters and rough cuts are not badges of honour. If using power tools, read the manual first, ensure the tool is in good condition, and never bypass safety guards. Work in a well-lit, dry area. Keep children and pets away from the workspace. These are not bureaucratic rules; they are the difference between a satisfying project and a hospital visit.

Materials Matter

For outdoor projects, material choice determines longevity. Pressure-treated timber resists rot and insects. Cedar and redwood are naturally durable but more expensive. Untreated pine will rot within a few years if in contact with soil. Use galvanised or stainless steel fasteners — standard screws and nails rust outdoors, leaving stains and weakening joints.

For raised beds, avoid treated timber if you are growing food, as chemicals can leach into the soil. Use cedar, composite boards, or line the interior with heavy-duty plastic. For structures like sheds or benches, pressure-treated timber is appropriate and cost-effective.

The right timber for the right job is not a luxury. It is the difference between a project that lasts five years and one that lasts twenty.

Measure, Plan, Then Build

The most common beginner mistake is cutting before measuring twice. Take time to plan your project on paper — sketch the design, list the materials with exact dimensions, and calculate quantities before buying anything. A trip to the builders' merchant with a clear list is cheaper and faster than three trips with vague estimates.

When measuring, account for the width of the saw blade — a few millimetres per cut adds up across a project. Use a square to ensure right angles. Check levels constantly. A structure that is slightly off at the base becomes significantly off by the top.

Finish and Protect

An outdoor project is not complete until it is protected. Apply a wood preservative or exterior paint to all exposed surfaces, paying attention to end grain — the cut ends of timber absorb moisture more readily than the faces and are where rot begins. For projects in contact with the ground, consider a bituminous paint on the buried portion for extra protection.

Allow finishes to dry fully before putting the project into use. A raised bed finished on Saturday should not be filled with soil until Sunday at the earliest.

Build Skills, Not Just Projects

Each project you complete teaches skills that make the next one easier. Keep notes on what worked and what did not. Photograph your process. Start a simple project journal. Over time, you will develop a toolkit of techniques, a sense of which materials to trust, and the confidence to take on more ambitious builds. The goal is not to become a master carpenter. It is to build useful things safely, enjoy the process, and gradually expand what you are capable of creating with your hands.